The journey to transform a useful, but uninspiring hex map into a fantasy map worthy of sharing with the other players at the table is nearing an end. At last, the map is beginning to take shape.
Step 8: Pesky trees and swamps
At this point, my creation process becomes less rigid. In fact, I’m bouncing back and forth from ink to colored pencil as the details in the map emerge.
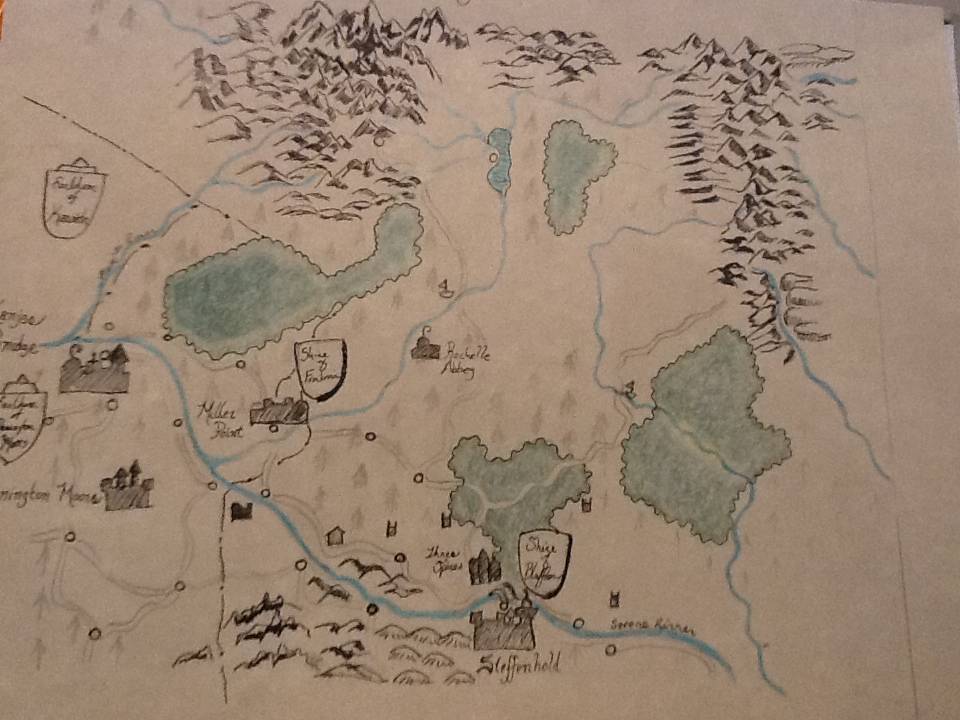
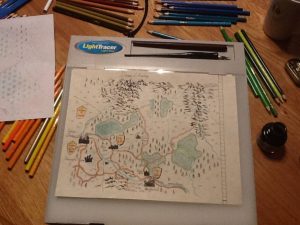
As you can see from this photo, I’ve colored in the major forests and the lakes and the streams, but I’ve also added labels and boundaries to the political entries. (But those pesky woodlands are still untouched).
I also realize, with chagrin, that I forgot to draw in three wetlands. I know where they are supposed to go, and those areas in the map are blank. Maybe a solution will present itself when I resolve the pesky woodlands problem, I think optimistically.
Back to the streams and roads. My process for that was simple, though time-consuming. I erased a small section of road or river, then went over it with the appropriate colored pencil (blue for water, red for road). This approach will try your patience, but I was very pleased with the result.
Step 9: Time to tree up!
Not knowing exactly what to do, I fell back on some symbolic imagery for the last three elements to be inked. The wetlands would be small wavering lines, grasslands would be three blades of grass emerging from a line and the trees would be evergreens, drawn as a straight line with branches coming off to the left and right. All of these I inked freehand without a pencil guide.
From there, I was left to color in the various elements. Each mountain range got a specific color, the Midlothians were brown with white snow caps, the Russett were russet brown (original, huh?). Other highlands and badlands received various shades of brown. The woodlands were green. Behind the olive grasses of the plains, I layered in a background blend of yellow and beige.
To finish off the map, I put in a mortise that features elements relative to the campaign: the staff of Saint Steffen, a castle turret, a crown, and the banner of the Red Lions, armsmen loyal to the Duchess Bethany.
Step 10: The completed map
Here it is, the lands north of Steffenhold (or as the bishop at Lanjes Bridge envisions it, the Diocese of Amberg).
In any event, I think it’s a solid first effort, especially comparing it with the original hex map. It includes only one bit of whimsy – a ferry boat north of Rochelle Abbye on the Findlay River (But who runs it? There’s supposed to be naught but goblins in those parts. I wonder.)
Had I to do it over, I might draw in little wagons carrying various goods on some of the roads. And where the roads end, I might have included labels to their destinations. I still like the idea of ribbons as a labeling device. I guess I’ll just save it for the next one.
So, if you have any questions about the process of making this map, or have a map-making story of your own to share, please join in the discussion in the comments below.








Woo, that looks really pretty! Take a bigger picture of the map for us, and I’ll submit it to reddit.com/r/rpg.
OK, you’ve got me. How do I take a “bigger” picture?
Brilliant! Outstanding map!
I wish I had talent enough to get this sort of thing right. I drew one small ravine map in outline for Call of Cthulhu recently and it took hours.
And looked totally naff. >8o(
Oh, and thanks for the articles on those castle molds. I ended up buying the Ruined Tower after being fired up by your article of dungeon tile production fun. I’m going to use it to make the centerpiece of an anniversary present for the wife.
Well, that’s the plan.
This has been a really fun series, Troy — thanks for writing it!
Giving your casting of Make Martin Buy Every Old School D&D Book in February, I shouldn’t be surprised that this series has made me want a light table.
@Troy E. Taylor –
Scan it at current scale, at least 100 dpi to get a bigger version to post.
Wonderful series, Troy. I’m recommending all four to my newsletter readers. Kudos!